- Overview
- Getting Started
- Selecting a Store
- Downloading Store Data
- Inventory Status Screen
- New Inventory
- Counting Inventory
- Item Search
- Printing Item Labels
Overview
McLane Foodservice Physical Inventory allows restaurants to inventory products supplied by the McLane company.Users can retrieve product lists for multiple stores and perform inventory counts on each store. The process is streamlined to use an external scanning device (Socket Scan CHS Series) to quickly scan and count store inventory.
Printing of scannable labels can be done with the addition of a Datamax-Oneil Apex i series printer. This enables users to decrease counting time by placing scannable labels near inventory stock.
After inventory counts are finalized, counts can be submitted to McLane for archival and email distribution.
Getting Started
When the application is first launched, the login screen will show prompting for userID and password. To access the application you will need a McLane userID.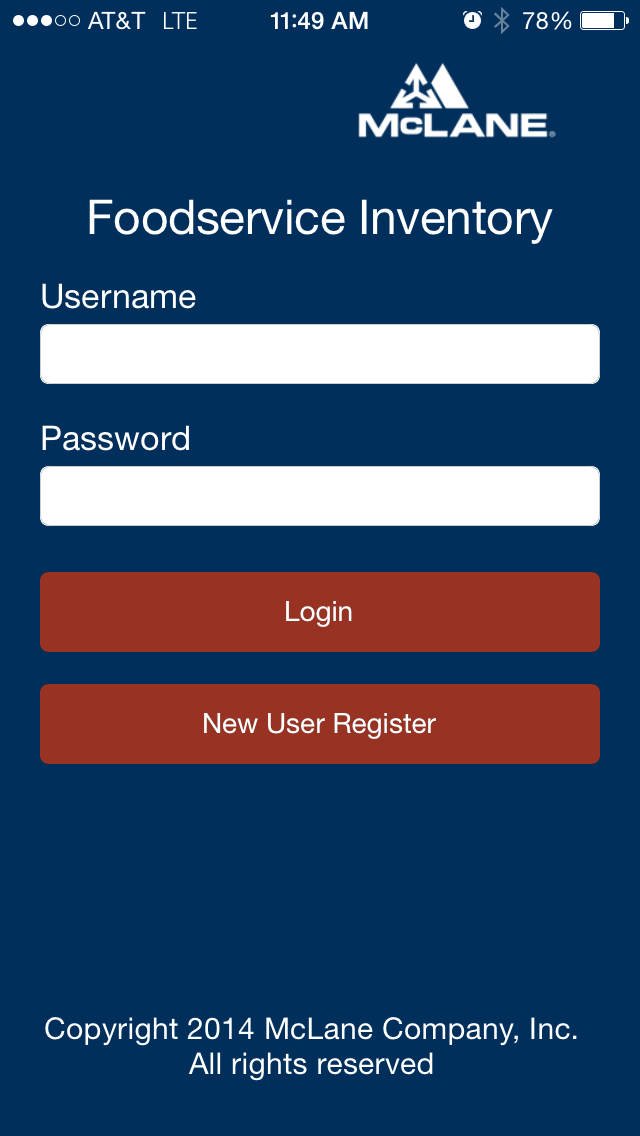 If you do not have a userID, you can self-register by selecting the 'Self Register' button and provide your Name, email, password, and a 4-digit PIN. Be sure to pick a password and PIN that can be easily remembered. If your password or PIN is forgotten, you may call the help desk to reset your password. McLane will not supply forgotten passwords.
Selecting a Store
After login, a list of available stores will be shown. If you are a new user, this list will be blank. To add a store, contact your store manager to generate a store code. To enter the code, press the 'Enter Code' button and enter the manager-supplied code. After the code has been validated, the store list will be updated with the new store.To perform inventories for a store, select the store from the list and press the 'Start Inventory' button.

Generating a Store Code
If you are set up as a manager of a store, you have the ability to grant access to other users to perform inventories. To generate a store code, press the 'Generate Code' button. The application will supply a 4 character code that can be given to another user. Upon entering this code, the user will have access to the selected store. Each generated code will expire after 10 minutes. If a code has expired, a new code can be generated at any time.Downloading Store Data
In order to perform inventory counts, the store product data must be downloaded to the device. If you selected a store and a download has not completed for the store, the downlaod screen will load prompting for a download. To start the download, press the 'Download' button.A download can be started at any time by pressing the 'Sync' tab on the Inventory Status Screen
PIN
All uploads and downloads are secured using the user's Personal Identification Number (PIN) given during self-registration. User will be required to enter the valid PIN number before initiating a download or upload.
Inventory Status Screen
The inventory list is used to show the status of the current inventory in progress and a list of previous inventories (Up to 4 are shown). Selecting the current inventory will show the inventory count screen. If no inventory has been started, you can press the 'New' button on this screen to start an inventory. See the section on New Inventory for more information. Using the bottom tab buttons, you can also navigate to the download (Sync) , item search, and printing screens.
New Inventory
Before starting an inventory, a name and item mix (frequency) must be selected. Before starting an inventory, enter the inventory name and select the frequencies you want to count. At least one frequency must be selected to start an inventory. If no inventory name is given, a name will be generated automatically.Counting Inventory
The inventory count screen is used to search for products and set UOM or partial quantities. When the screen first loads, all items are shown. To find specific items, select the search field and type in a partial description, item number, or UPC. Pressing the search button on the keyboard will filter the list to only those items that match the search field.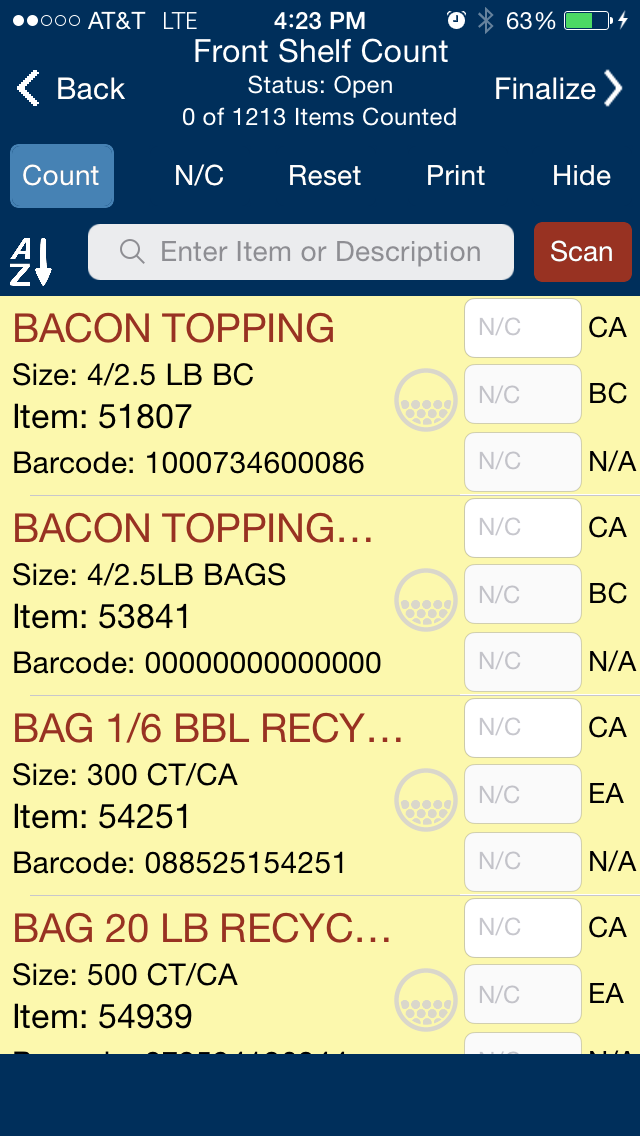
To enter a count, press in the white quantity field for the item and enter the quantity. Some loose bag inventory items, like cheese or lettuce, require partial quantities to be entered. If a partial quantity is desired, press the partial button
 and enter the partial amount.
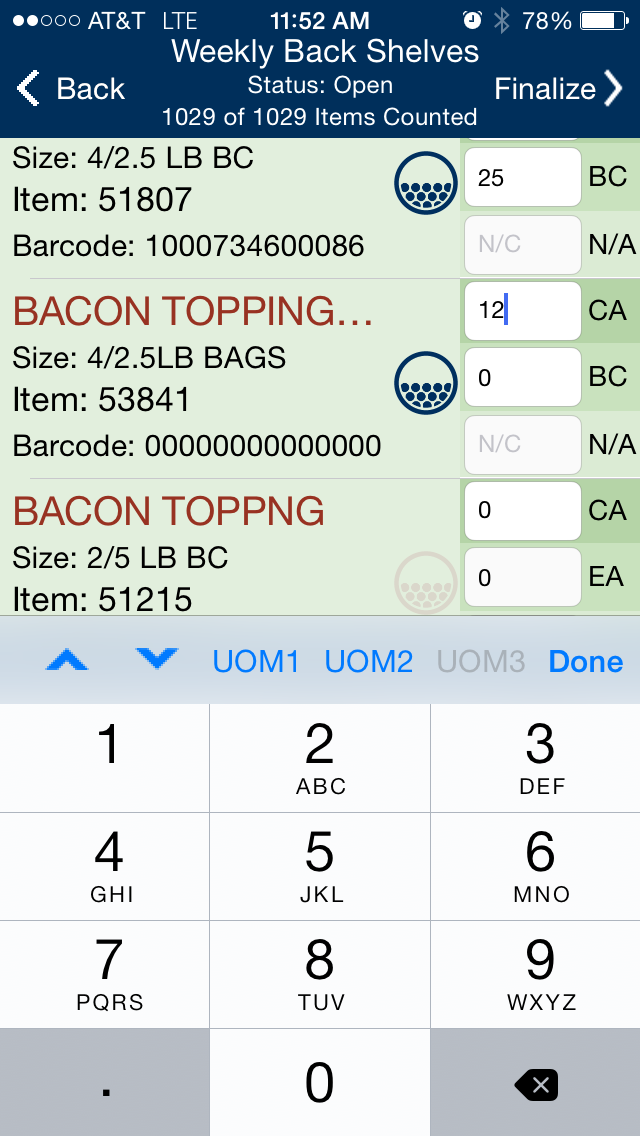
Scanning
Fast scanning can be acheived by pairing a SocketScan CHS Series 7 or 8 device to your phone or tablet. Once paired and powered on, the scanner will automatically connect when the Inventory Count screen is showing.
For more information or to order a compatible scanner, go to the Socket Mobile Products page.
Other counting functions
The counting screen has 5 modes of operation, these can be changed by selecting the buttons directly above the search bar on the count screen.- Count - Used to enter inventory quantities
- N/C - Used to set the count to Zero (0) for 'not counted' items
- Reset - Used to reset counts to 'not counted' for one or more items
- Print - Used to add items to the print queue for future printing
- Hide - Used to hide unwanted items from current and future couuts
Finalizing an Inventory Count
Once counting is complete, the inventory can be uploaded to McLane systems for processing. Before upload, the count must be finalized, which prevents any future counts to be entered for the current inventory. To finalize and upload, press the 'Finalize' button on the inventory count screen. The upload screen will show and to initiate the upload, press the 'Upload' button.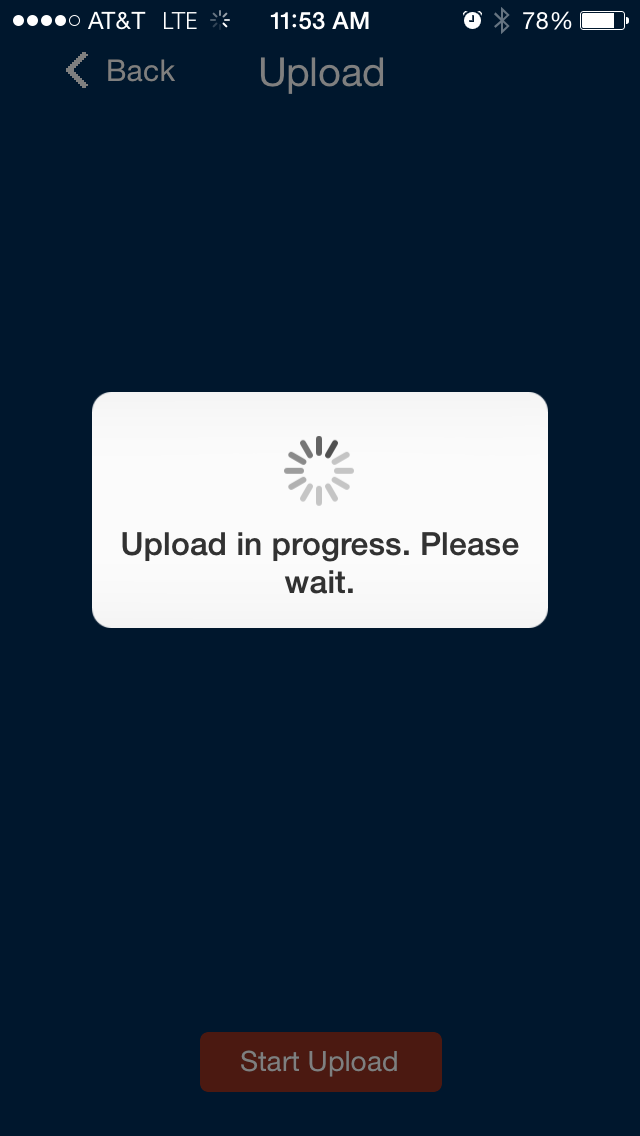
Item Search
The item search screen can be used to lookup items by description, item number, or barcode. This screen can be used when users do not want to start or impact the current inventory. After performing a search, you can add items to the print queue or print them immediately. Printing requires a compatible printer
 Printing Item Labels
Often scanning and finding inventory can become tedious, simply because the barcode or item number is difficult to find (or missing). Using the printing screen and a Datamax-Oneil Apex series printer, you can print labels to help identify and organize product. Once paired and powered on, the printer will automatically connect when the Print or Item Search screen is showing.
For more information or to order a compatible scanner, go to the Datamax-Oneil Apex printers page.